Tags
Tags are labels you apply to conversations so related ones are easy to find and review together — for example "Escalation", "Follow up", or "Training example". A conversation can carry any number of tags, and the By Tag view filters the list to one tag in a click.
Note
Assigning tags and creating or managing tags are controlled by permissions on your role.
Tag visibility and hierarchy
- Private tags are visible only to you — useful for personal work queues.
- Public tags are visible to all users in your organization — useful for shared workflows.
- Tags can be nested: a tag may have a parent tag, so you can build a hierarchy such as "Complaints" with sub-tags per product.
Assigning tags
From the Conversations list:
- Select one or more conversations.
- Click the Tags button on the toolbar.
- Check the target tags and click Apply.
On a conversation's detail page, use Edit Tags under the page title to assign or remove tags for that single conversation.
Assigned tags appear in the Tags column of the list (when the column is enabled).
Filtering by tag
Open the By Tag tab of the Conversations list and pick a tag on the left — the list shows only conversations carrying that tag. Tags are also available as a parameter in Advanced Search, where they can be combined with other criteria.
Creating a new tag
- Click the Tags button on the list toolbar (or Edit Tags on a detail page) and select New Tag.
- Fill in:
- Name — a unique name (required).
- Parent tag — optional; makes this tag a child of an existing tag.
- Visibility — Private (only you) or Public (all users).
- Click Save.
Managing existing tags
Select Manage Tags from the Tags button menu, or follow the Manage Tags link on the By Tag tab. The Tags page lists the tag tree, where you can add tags and sub-tags, and edit or delete existing ones.
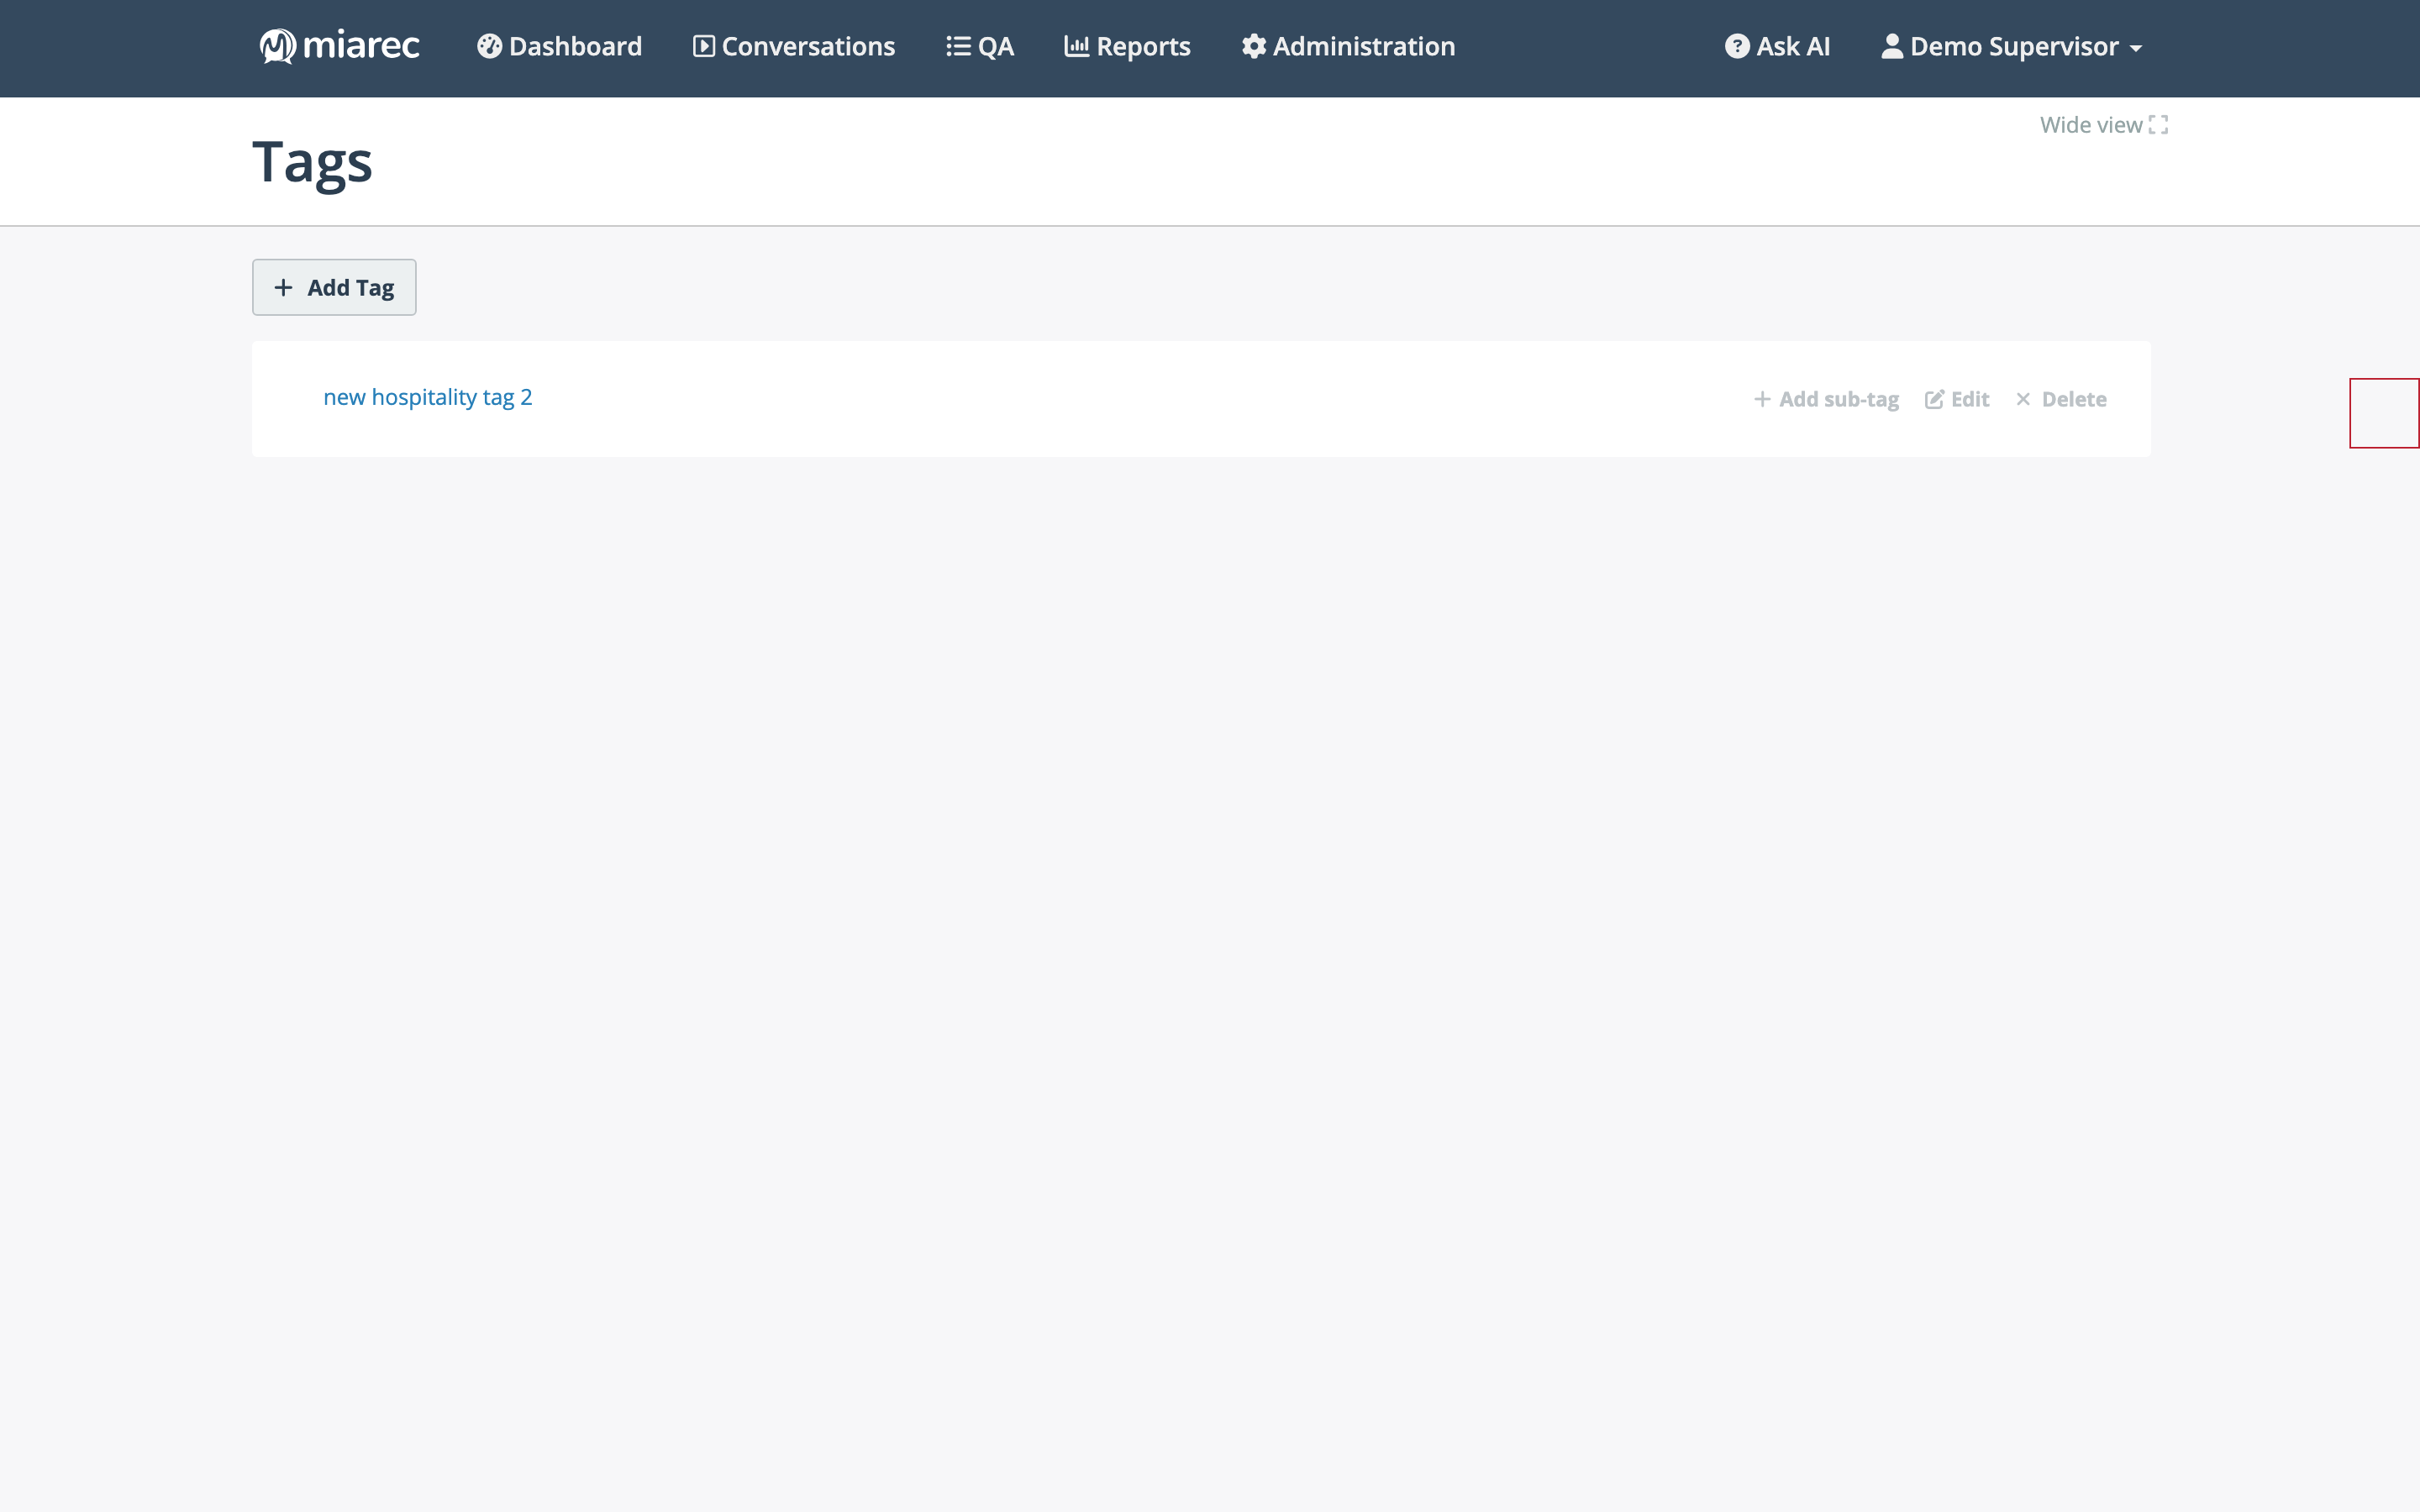
The Tags page: each tag row offers Add sub-tag, Edit, and Delete; Add Tag creates a new top-level tag.