Prerequisites
To support the offload of MiaRec backups, an S3 bucket must be provisioned.
Database backups should be stored using the WORM (write-once-read-many) model to prevent corruption or tampering. To support WORM storage, S3 Object Lock has to be enabled, this is defined at the bucket level, requiring separate buckets.
More information about S3 Object Lock can be found at the following link. https://docs.aws.amazon.com/AmazonS3/latest/userguide/object-lock.html
Create a bucket
An S3 bucket with the Object lock must be created as a destination target for database backups.
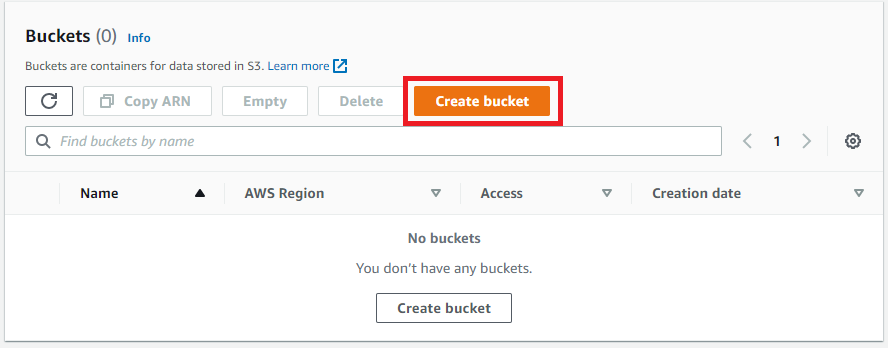
From Amazon S3 console at https://console.aws.amazon.com/s3/.
-
Choose Create bucket from the console top menu to create a new Amazon S3 bucket.
-
On the Create bucket setup page, perform the following actions:
-
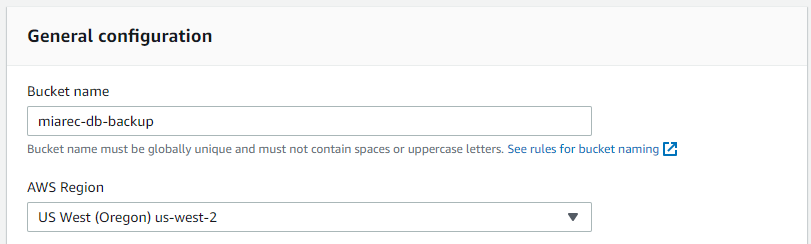
For General configuration:
-
Provide a unique name for the new bucket in the Bucket name box.
-
From the AWS Region dropdown list, select the AWS cloud region where the new S3 bucket will be created.
-
-
-
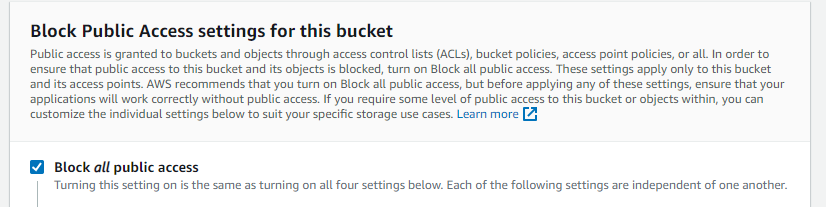
For Block Public Access settings for this bucket, select Block all public access to ensure that all public access to this bucket and its objects is blocked.
-
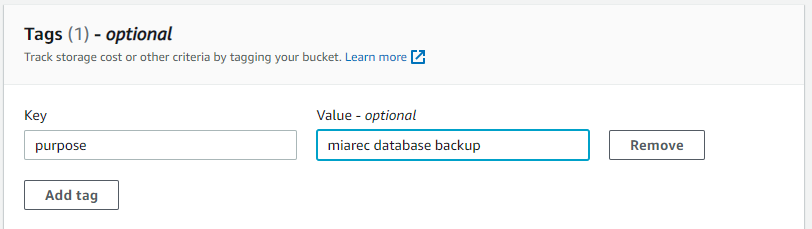
(Optional) Tags, use the Add tag button to create and apply user-defined tags to the S3 bucket. You can track storage costs and other criteria by tagging your bucket.
-
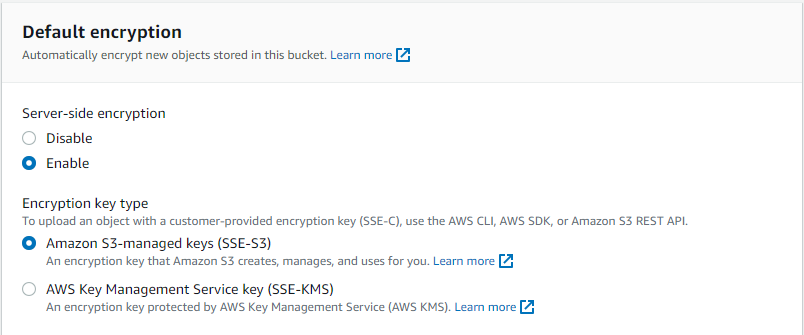
(Recommended) For Default encryption, select Enable under Server-side encryption, and choose Amazon S3-managed keys (SSE-S3).
-
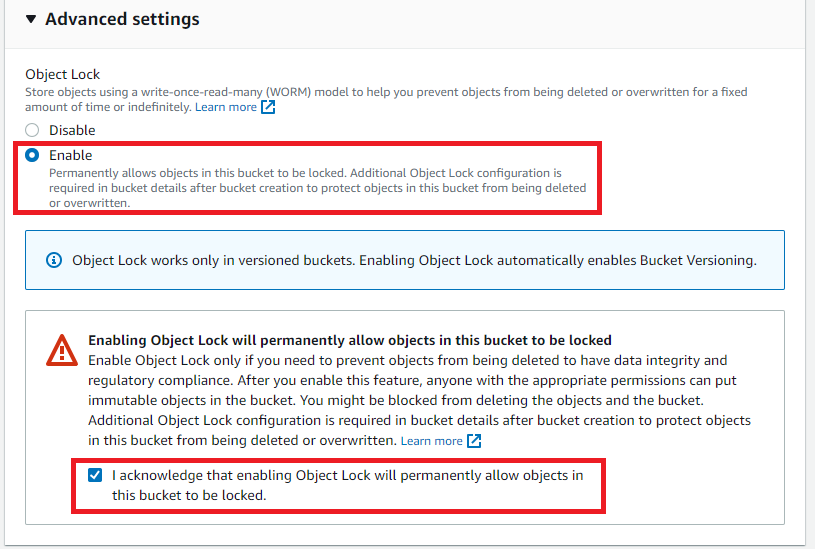
For Advanced settings, choose Enable under Object Lock to enable the Object Lock feature. Choose I acknowledge that enabling Object Lock will permanently allow objects in this bucket to be locked for confirmation.
-
Choose Create bucket to create your new Amazon S3 bucket.
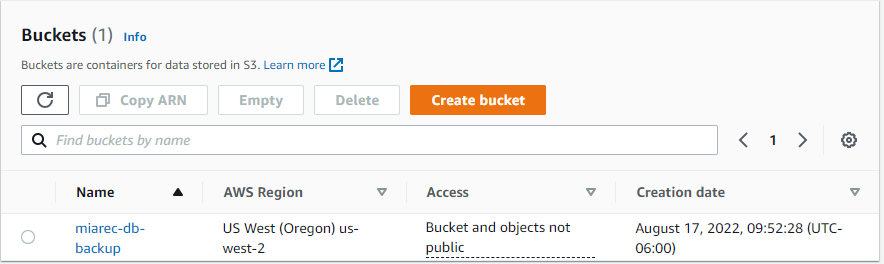
Result
S3 bucket will be created and displayed in the console.
Set Object Lock Retention policy
Object Lock Retention policy needs to be configured to ensure items can be eventually removed and guarantees data integrity for a defined period.
From Amazon S3 console at https://console.aws.amazon.com/s3/.
-
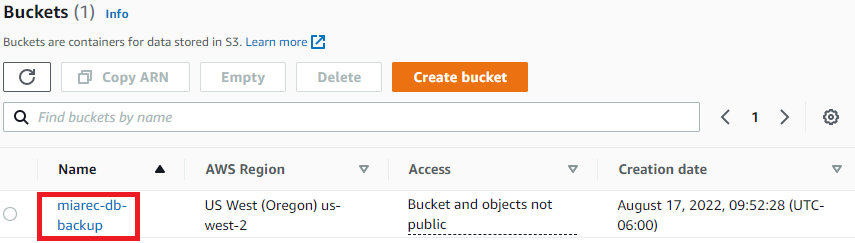
Click on the name of the newly created Amazon S3 bucket.
-
Select the Properties tab from the console menu to access the bucket properties.

-
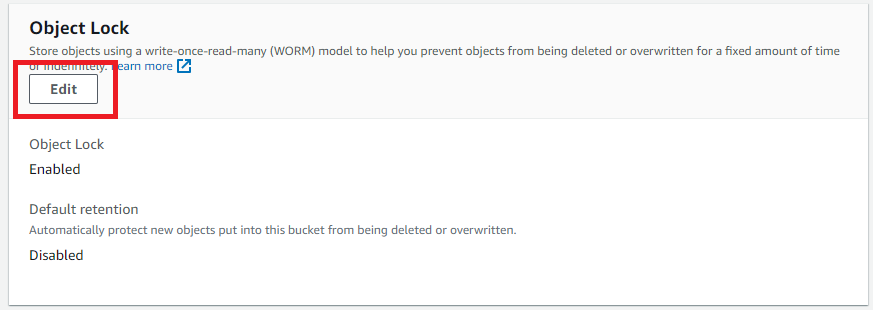
In the Object Lock section, choose Edit to configure the feature settings available for the S3 objects that are uploaded without Object Lock configuration.
-
Within the Object Lock configuration section.
-
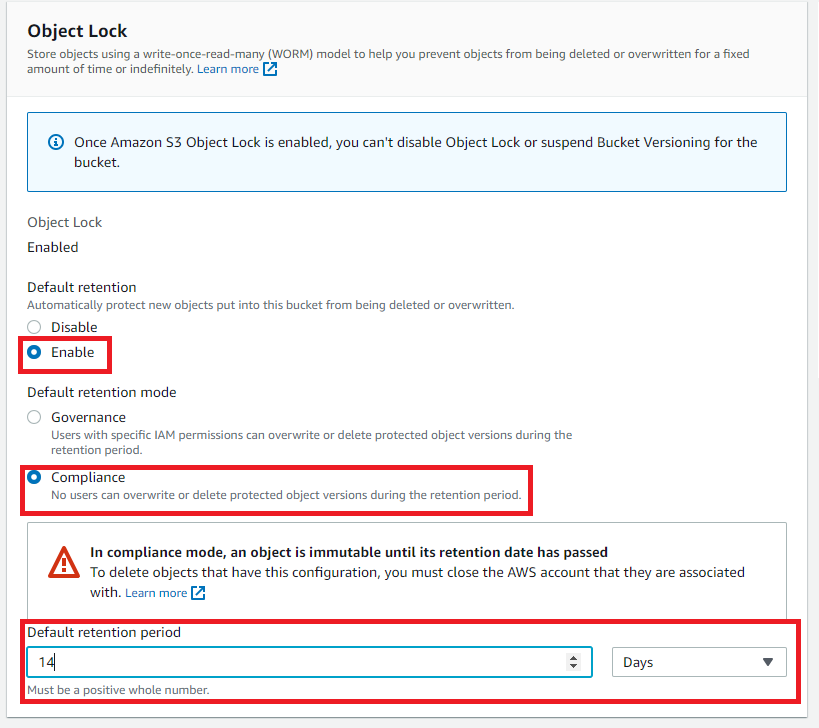
Choose Enable under Default retention.
-
Select Compliance so that a protected object version cannot be overwritten or deleted by any user, including the root account user. Once an S3 object is locked in Compliance mode, its retention mode cannot be reconfigured and its retention period cannot be shortened. This retention mode ensures that an object version can't be overwritten or deleted for the duration of the retention period
-
Define the Default retention period.
-
Click Save changes to apply the configuration changes.
-
Result
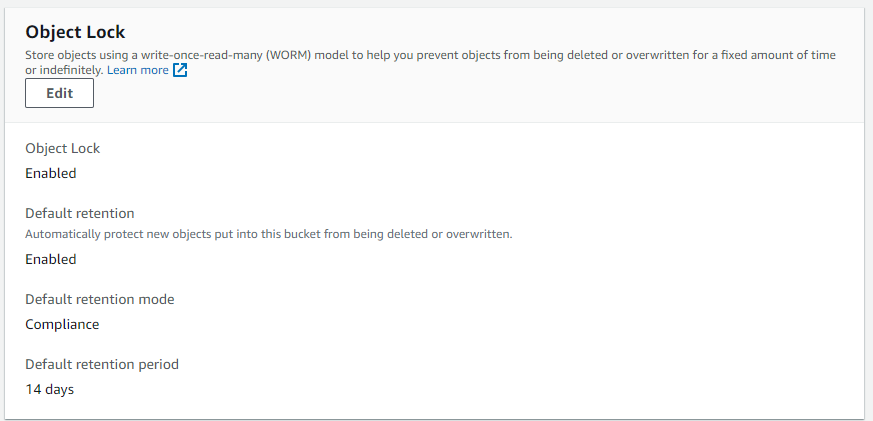
Object Lock Configuration will be modified.
Note, that the Object Log Retention configuration doesn't delete files after the specified retention period. It just prevents the deletion of the files during the specified retention period. To delete the old backup files, you must use Amazon S3 lifecycle policies.
How to delete files in S3 bucket when Object lock is present?
It is possible to "delete" an object that is currently in Object lock in the same manner you normally delete a file.
Select the object, and click Delete, then confirm the action.


This will display a successful delete, however, this is misleading, by toggling the Show Version, you can see what happened is that a Delete marker was applied, and the previous version is still available for download.
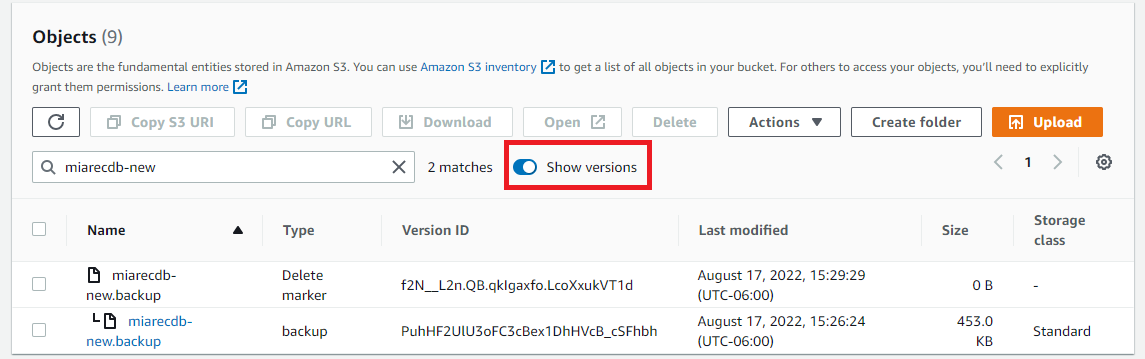
However, this is temporary, after the object lock retention period expires the object will be deleted.
Create IAM policy for access to the database backup bucket
An IAM Policy has to be created and assigned to an IAM user so that objects can be added to the S3 bucket by that IAM user.
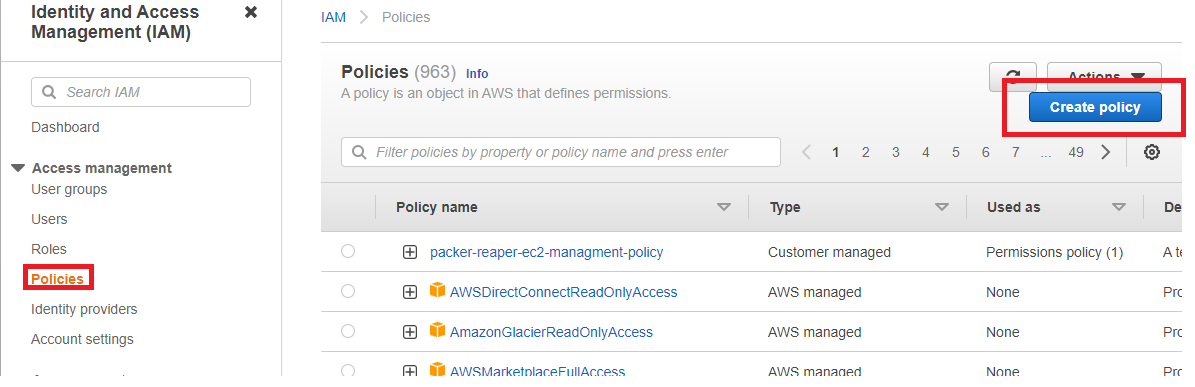
From Amazon IAM console at https://console.aws.amazon.com/iam/
-
From the Policies menu. Choose Create Policy to create a new IAM Policy.
-
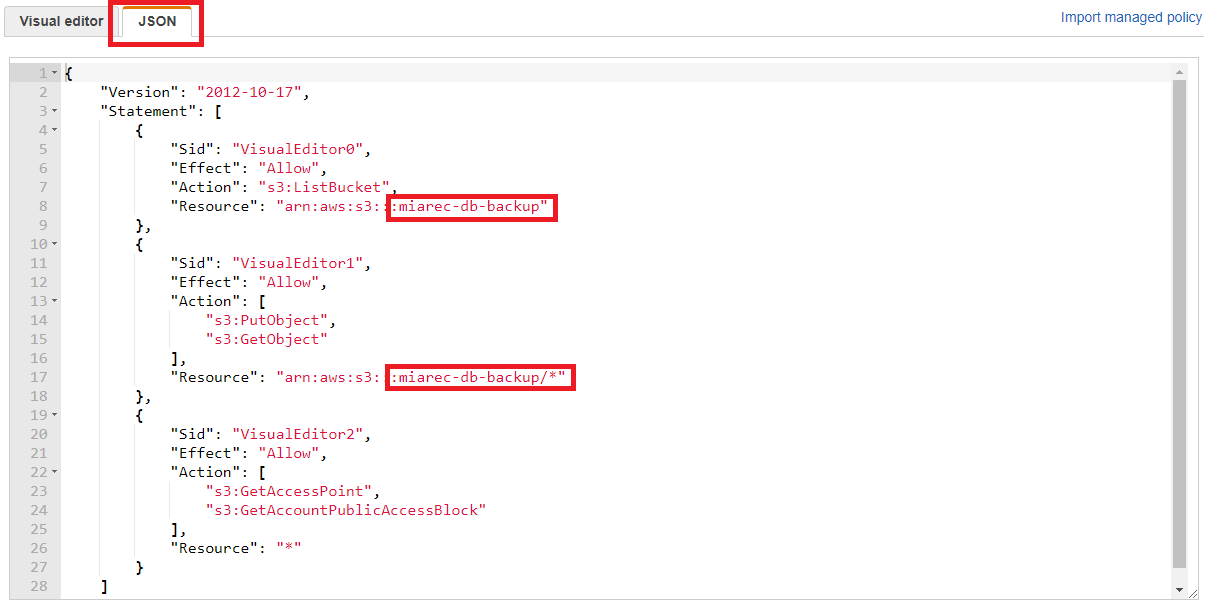
Select JSON tab, copy the following access policy and paste it into the JSON field. Do not forget to replace miarec-db-backup with your bucket name!!!.
{
"Version": "2012-10-17",
"Statement": [
    {
        "Effect": "Allow",
        "Action": [
            "s3:ListBucket"
        ],
        "Resource": [
            "arn:aws:s3:::miarec-db-backup\"
        ]
    },
    {
        "Effect": "Allow",
        "Action": [
            "s3:PutObject",
            "s3:GetObject"
        ],
        "Resource": [
            "arn:aws:s3:::miarec-db-backup/*"
        ]
    }
]
}
(Optional) Tags, use the Add tag button to create and apply user-defined tags to the resource.
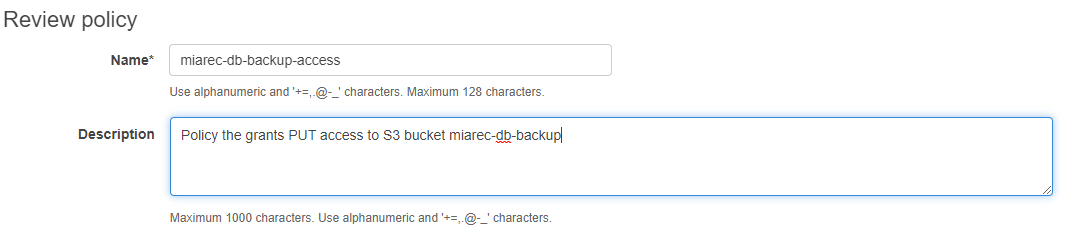
Review policy, choose a descriptive name and description for the policy and click Create policy button.
Result
The policy will be created and ready to be assigned.

Create IAM User for database backup bucket
IAM user has to be created that can be used later to push database backups to the S3 bucket.
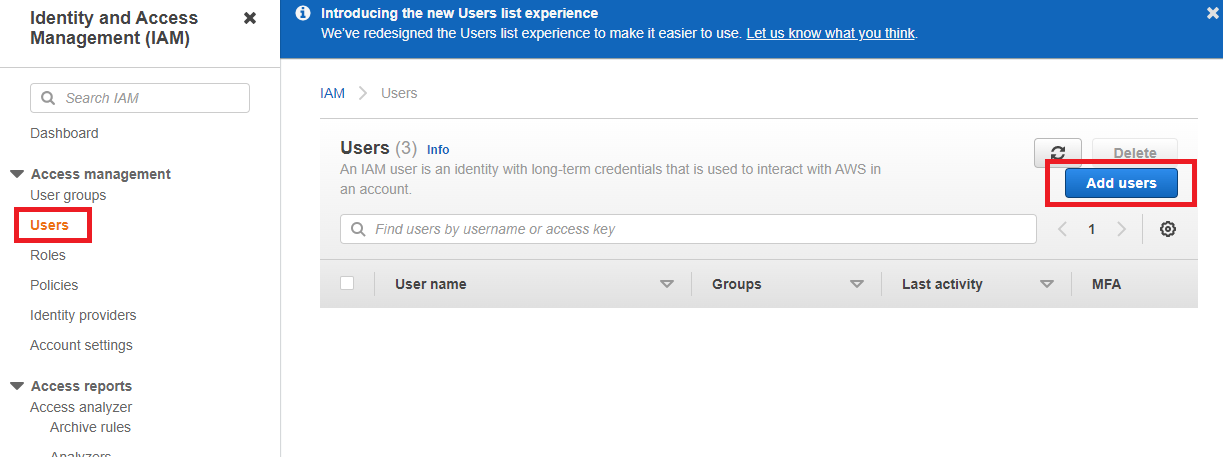
From Amazon IAM console at https://console.aws.amazon.com/iam/
-
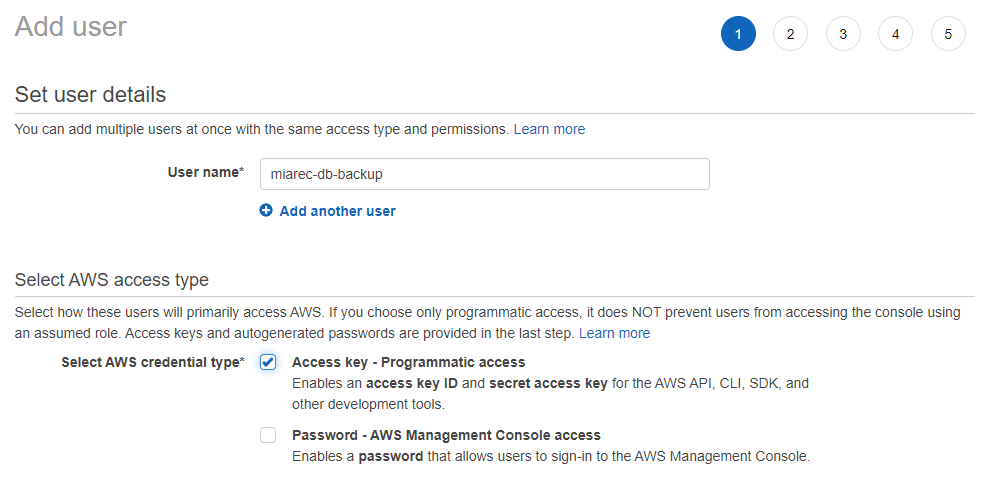
From the Users menu, choose Add User to create a new IAM User.
-
Details, choose User name and enable Programmatic access.
-
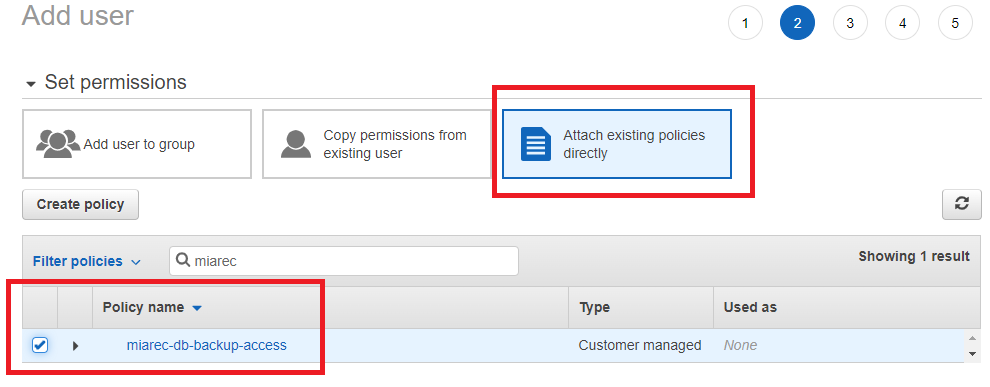
Permissions, select Attach existing policies directly and then select the previously created policy from the list. Use the search box to find the policy by name.
-
(Optional) Tags, use the Add tag button to create and apply user-defined tags to the resource.
-
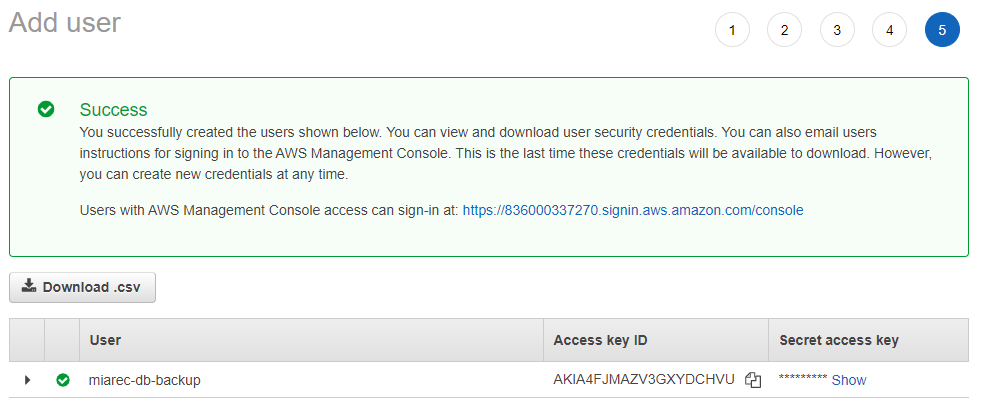
Review, confirm the settings and click Create user.
-
On the Complete screen, copy Access Key ID and Secret access key and store them in a secure place. This will be used later to push database backup to S3.
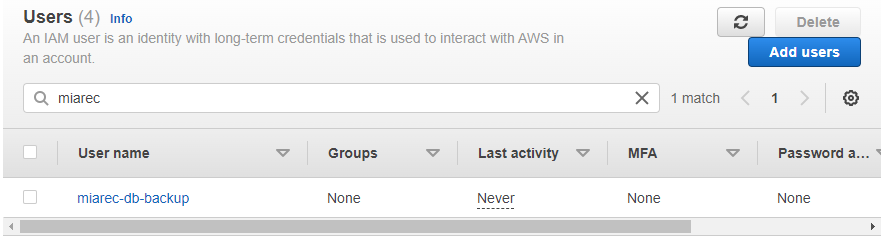
Result
The user will be added, access key and the secret access key will be available to use to access the S3 bucket.
Install AWS CLI
awscli package is required to transfer database backups to an S3 bucket.
Install unzip
sudo yum install -y unzip
Install aws-cli
For the latest version of the AWS CLI, use the following command block:
curl "https://awscli.amazonaws.com/awscli-exe-linux-x86_64.zip" -o "awscliv2.zip"
unzip awscliv2.zip
sudo ./aws/install
Verification
[centos@miarecdb ~]$ aws --version
aws-cli/2.7.25 Python/3.9.11 Linux/3.10.0-1160.el7.x86_64 exe/x86_64.centos.7 prompt/off