2. Create VPC
A virtual private cloud (VPC) is a virtual network that closely resembles a traditional network that you'd operate in your own data center, with the benefits of using the scalable infrastructure of Amazon Web Services (AWS). You have complete control over your virtual networking environment, including selection of your own IP address range, creation of subnets, and configuration of route tables and network gateways.
In this guide, we will create a dedicated VPC for MiaRec cluster.
Create VPC
To create a VPC:
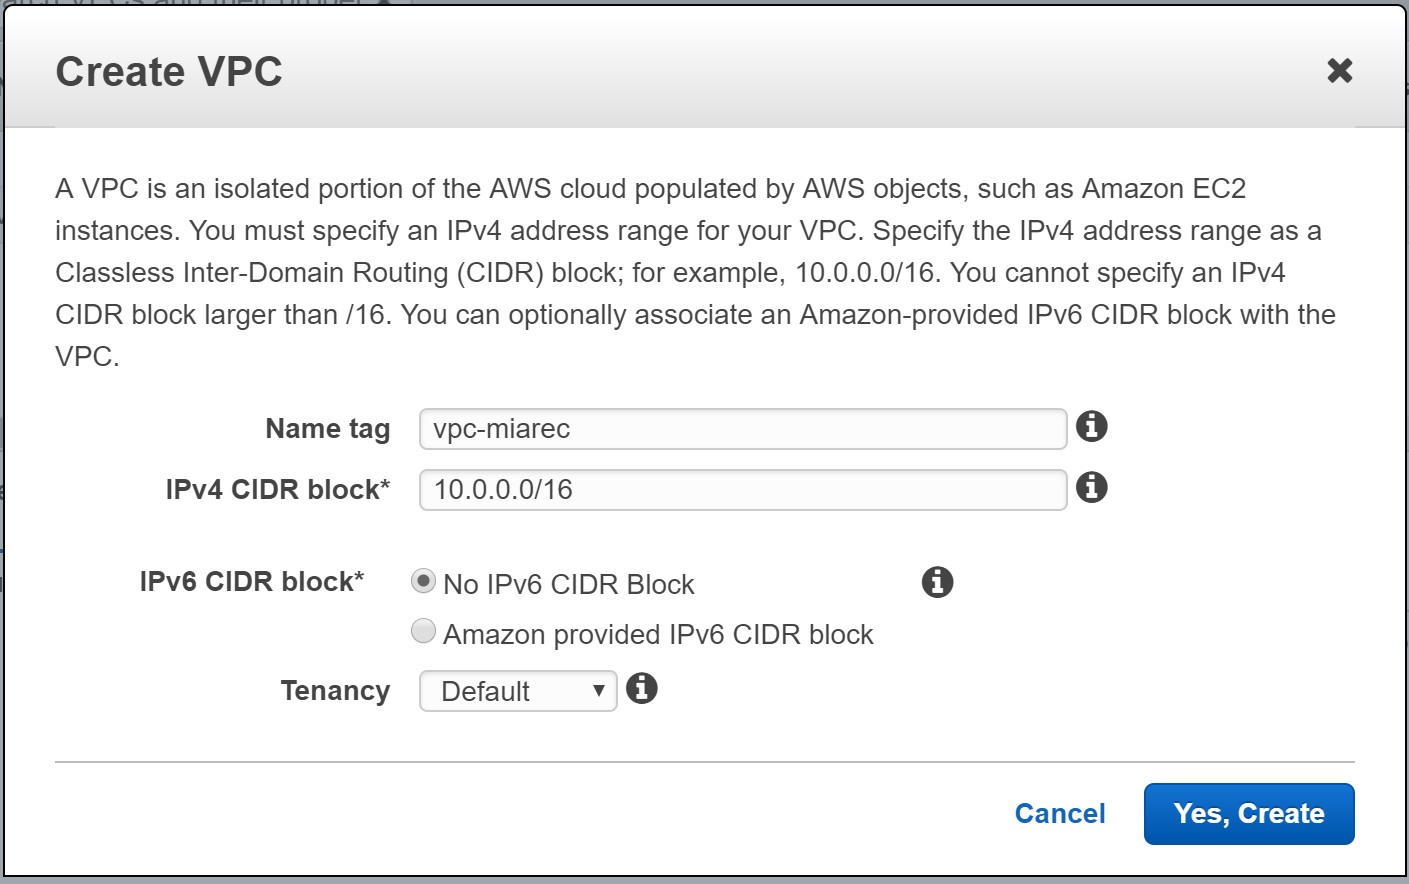
- Open the Amazon VPC console at https://console.aws.amazon.com/vpc/.
- In the dashboard, choose Your VPC and click Create VPC button.
- Choose the name which will help you to identify it later in the console.
- We use
10.0.0.0/16for the CIDR block and leave tenancy as default if we don't require dedicated hardware. For more information about IPv4 and IPv6 addressing, see IP Addressing in Your VPC - Click Yes, Create.
Create subnets
Now let's create two subnets in different Availability Zones. We will deploy two MiaRec instances in different Availability Zones for redundancy. An Availability Zone is a logical data center in Amazon AWS. Each zone has redundant and separate power, networking and connectivity to reduce the likelihood of two zones failing simultaneously.
To create subnets:
- In the VPC Dashboard, choose Subnets and click Create Subnet button.
- Choose the name
- Associated this subnet with the previously created VPC.
- Select different different Availability Zones for each of subnets.
- We use
10.0.1.0/24for one subnet and10.0.2.0/24for the second
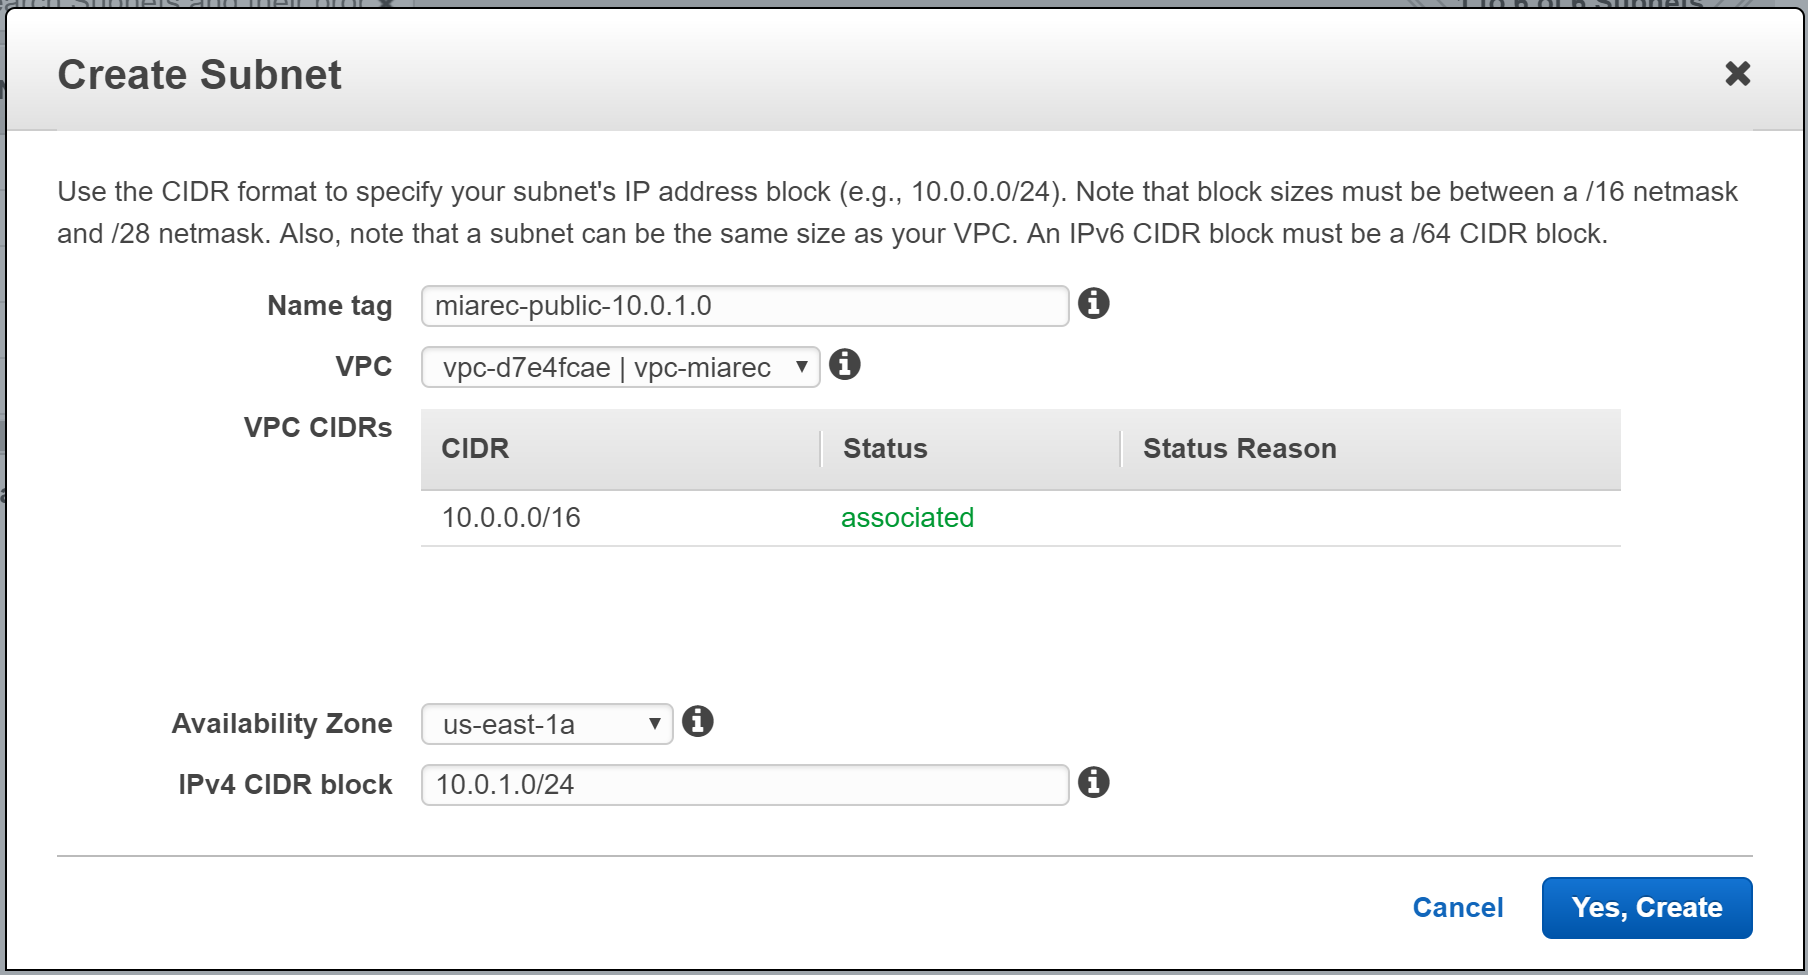

In this example, we created two subnets:
| Subnet name | Availability Zone | IPv4 CIDR block |
|---|---|---|
| miarec-public-10.0.1.0 | us-east-1a | 10.0.1.0/24 |
| miarec-public-10.0.2.0 | us-east-1b | 10.0.2.0/24 |
Create Internet Gateway
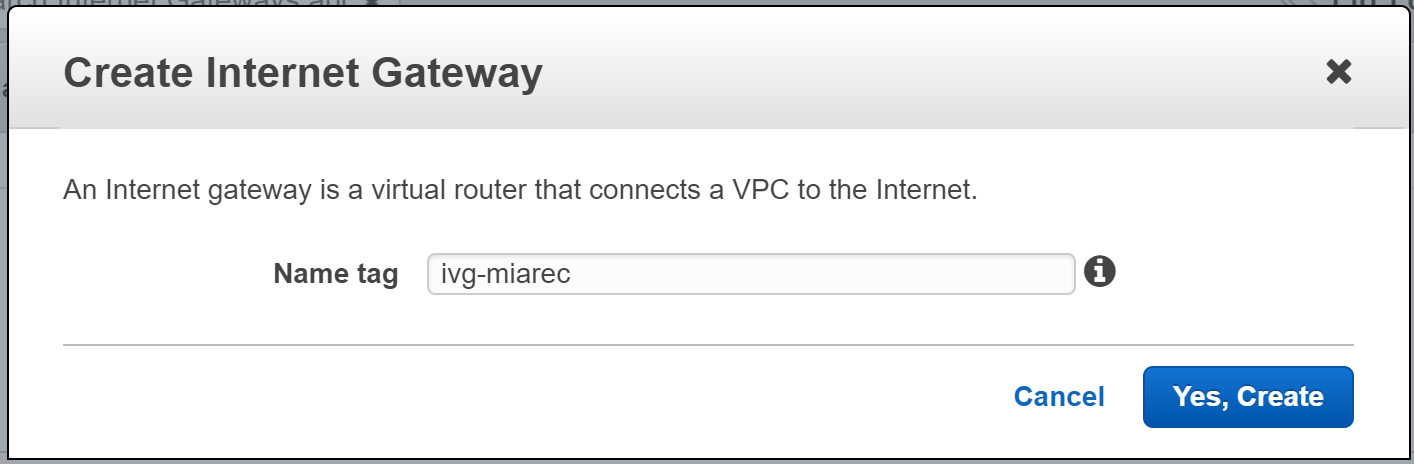
Up to now all our subnets are private. We need to create Internet Gateway. An Internet gateway is a virtual router that connects a VPC to the Internet. An Internet gateway serves two purposes: to provide a target in your VPC route tables for Internet-routable traffic, and to perform network address translation (NAT) for instances that have been assigned public IPv4 addresses.
To create Internet Gateway:
- In the VPC Dashboard, choose Internet Gateways and click Create Internet Gateway button.
- Choose the name
- Click Yes, Create
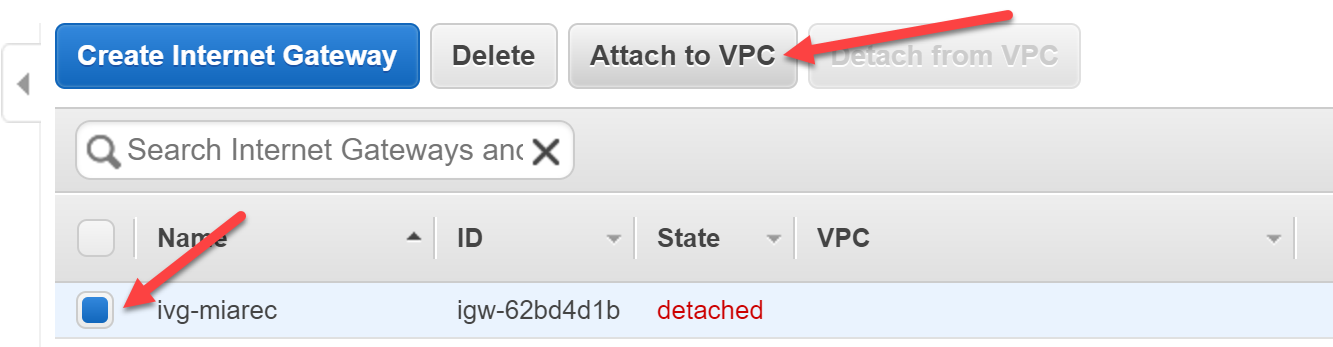
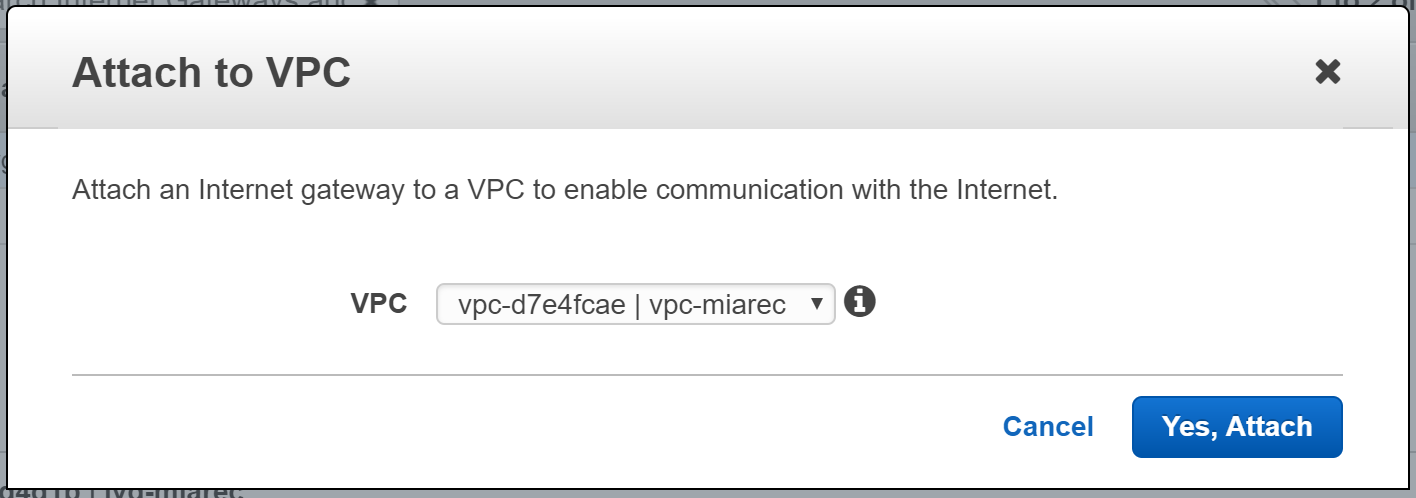
- Select the newly created Internet Gateway from the list and click Attach to VPC to associate it with your MiaRec VPC.
- Click Yes, Attach
Associate subnets with Route Table
Now we need to associate the subnets with Route Table.
- Navigate to Route Tables in VPC Dashboard.
- Select the existing route table associated with your newly created VPC.
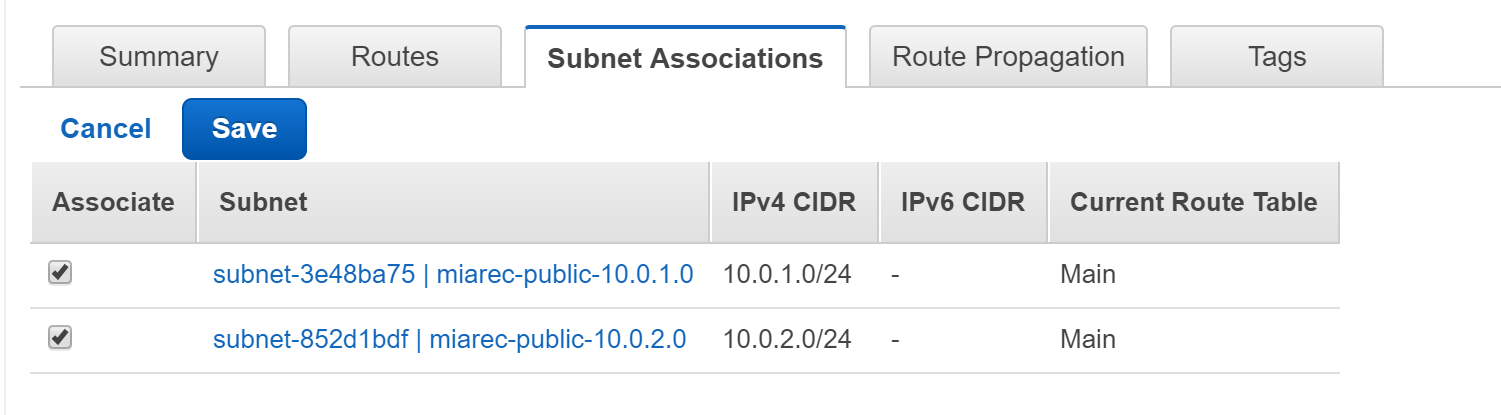
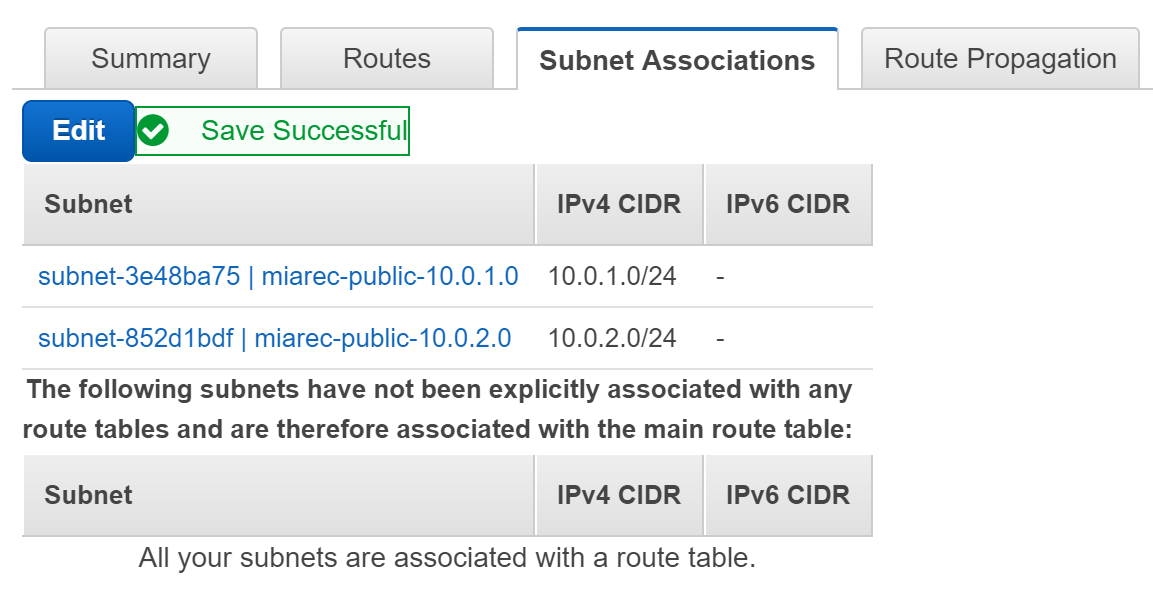
- Press the Subnet Associations tab on the bottom section. Click Edit.
- Select the subnets and click Save.
Configure default gateway
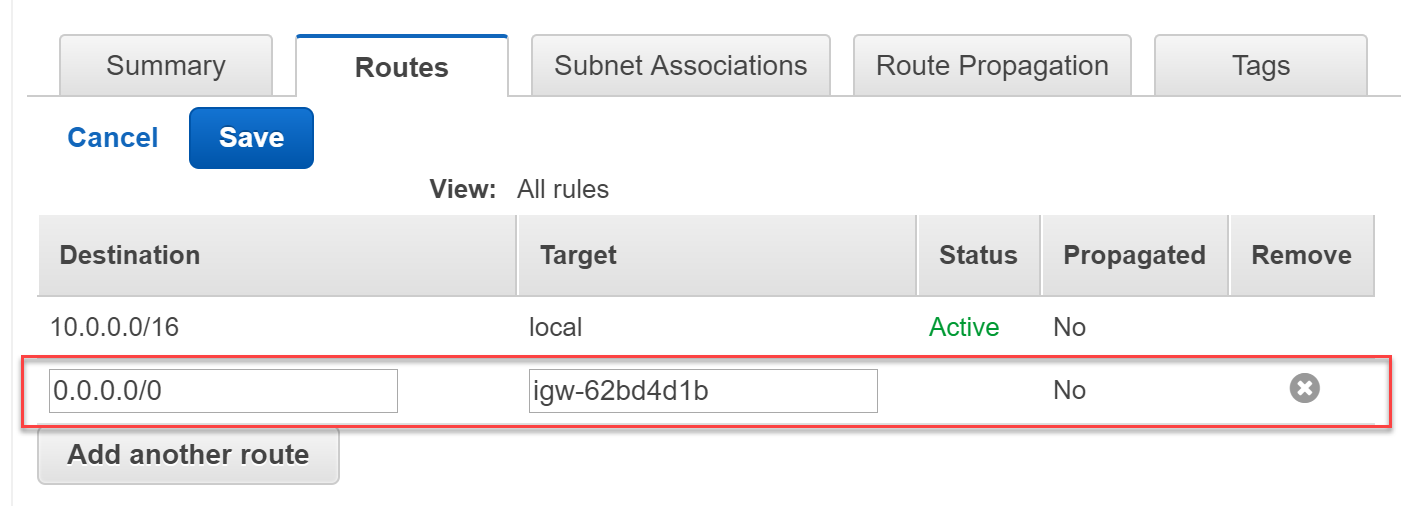
We need to add a custom route table for destination 0.0.0.0/0 and Internet Gateway as a target. This will allow our machines to communicate to public Internet, for example, to download software updates.
- Navigate to Route Tables in VPC Dashboard.
- Select the existing route table associated with your newly created VPC.
- Press the Routes tab on the bottom section. Click Add another route
- Create Destination
0.0.0.0/0with the newly created Internet Gateway as a Target.